 When I did the little motif to demonstrate my method of doing a split chain it seemed a shame to waste it.....and so I just carried on. I used a thick thread for the demo and I don't normally use such a thick thread for doilies, but I thought, "what the heck" and this is the result so far. I have no idea what I shall do with it when it is finished, probably give it away, as usual, LOL!!!
Wednesday, 11 April 2012
Split chain doily
When I did the little motif to demonstrate my method of doing a split chain it seemed a shame to waste it.....and so I just carried on. I used a thick thread for the demo and I don't normally use such a thick thread for doilies, but I thought, "what the heck" and this is the result so far. I have no idea what I shall do with it when it is finished, probably give it away, as usual, LOL!!!

Monday, 9 April 2012
Split Chain - step by step instructions
 Tat the first part of the chain in the normal way, to the point where you want the two shuttle threads to meet. Join the core thread to the base of the first ring with a lock join and leave enough thread to work the 5 stitches needed to complete the chain, back towards the last chain stitch worked. Always leave a little less thread, as this will stretch as you work the backward stitches.


Thursday, 1 March 2012
A Little Splash of Spring!
 I have made this little spring flower arrangement for my next-door neighbour. She is a true friend who is worth making a treat for. I found out quite a long time ago that her favourite colours were blue and yellow, so what a good excuse to make daffodils and primulas!
 This is a doodle I did last week and I've called it Little Teardrop. It is a very simple design and done all from one side, no reverse working at all!
Sunday, 19 February 2012
Diamond Motifs
The following pictures are my journey into designing a diamond shaped motif to enter into the Ring-of-Tatters competition this year. I will not post a picture of the final design that I am entering, I will save that until after the competition.


Saturday, 4 February 2012
Oval Doily now test tatted
My dear friend, Stephanie, from across the pond, has very kindly test-tatted my Oval Doily. She has done it in a size 80 variagated thread, so that she could get the whole doily onto her scanner, as she doesn't have a digital camera.
Beautiful work, Stephanie!

Wednesday, 1 February 2012
Anne Orr Edgings - last one
I found this one the most difficult to decipher! I have not altered the pattern (although the original had more than one mistake, good thing there was a picture to study!) I have simply re-written it in modern tatting language.

Tuesday, 31 January 2012
Anne Orr Edging Adaptations
 This is just an original Anne Orr edging that I have re-written
This is my first adaptation

And this is my second adaptation
Next Anne Orr Edging
 I haven't adapted this Anne Orr edging, just written out the pattern in modern tatting language.
Sunday, 22 January 2012
Anne Orr Edging Adaptations 1
We have been asked by Georgia Seitz of the On-line Tatting Class to adapt some of Anne Orr's tatted edgings and write out the patterns/diagrams in modern tatting language.
When there is enough to put into a booklet, it will be sold to raise funds for the Palmettos Tat Days sponsorship.

Here is my take on two of them so far. In the ecru one I have slightly adjusted the stitch count and made the centre picot a long one.

Ms Orr calls the pink and white one Pheasant's Eye and so I thought that beads would be perfect for this. Again I have made the centre picot longer.
Saturday, 21 January 2012
Oval Doily in ecru now finished!

The doily is now finished. I have also finished the written pattern, but I have offered it to Georgia Seitz, to help raise funds for Palmettos sponsorship. If it is that she is not in a position to sell it to fellow tatters, then I will post it on my blog for free as usual.
Wednesday, 18 January 2012
Oval Doily in Ecru 3
Here is the doily, now a little bigger. I'm quite enjoying this pattern, it seems to be flowing naturally without having to re-do any rounds.

Sunday, 15 January 2012
Oval Doily in Ecru - 2

Saturday, 14 January 2012
Oval Doily in Ecru
Having finished all my projects and having nothing in particular to do I thought I would make an oval doily to put on my new television table, which itself is oval, and is in black glass.
 This is the start. I have done a couple of more rounds and will post a picture when it is bigger still. I am writing the pattern out as I go, for a change. This makes life much easier.....trying to count stitches retrospectively is no joy. I am doing this one in an antique thread in size 40.

Monday, 9 January 2012
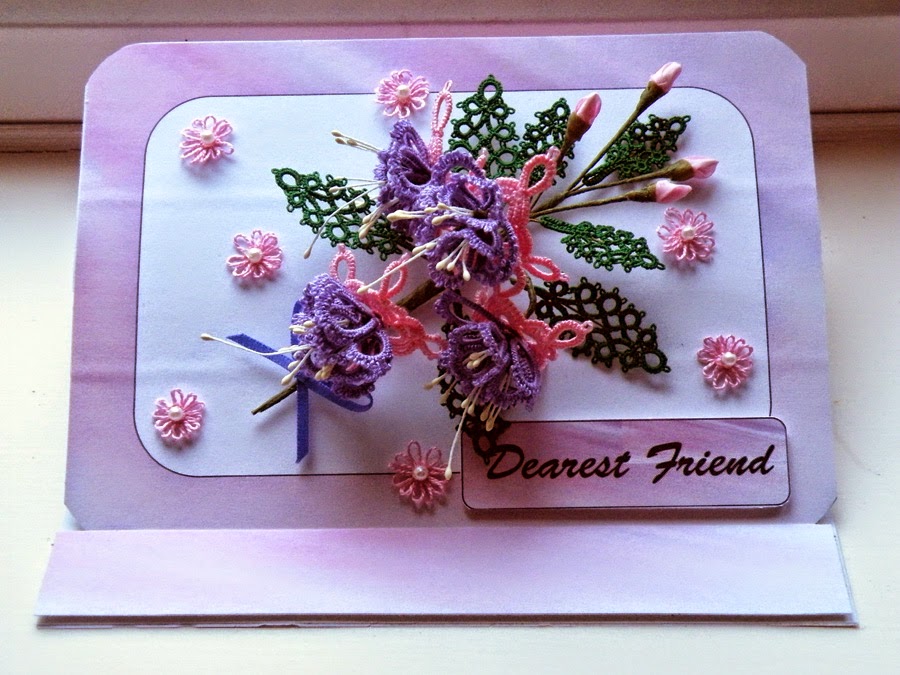
Double Fuchsia Pattern


Monday, 26 December 2011
Green Cowl

 Here, as promised are pictures of the green cowl now completed. As you can see, I only did the diamond pattern all round for this one. It made it quicker to make as I didn't have to keep referring to the pattern chart!
Subscribe to:
Posts (Atom)


